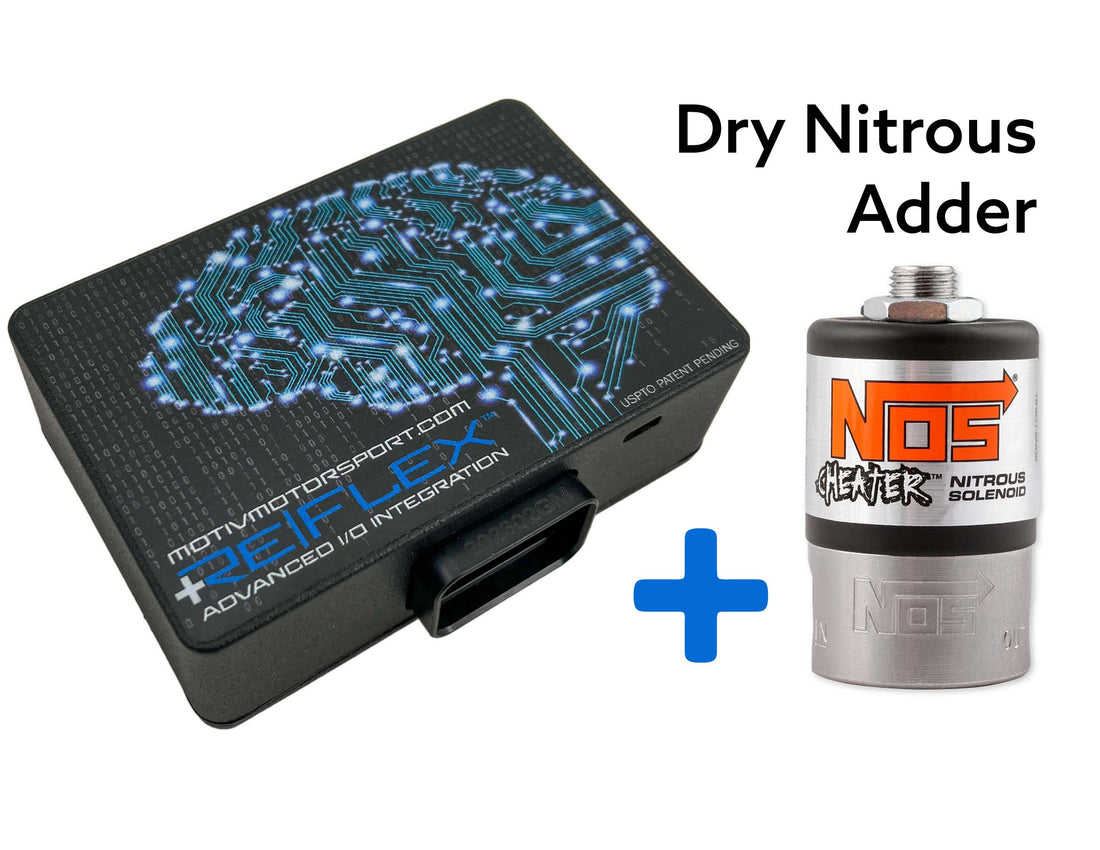
Considering nitrous on your GM Gen5 LTx engine equipped with a ReFlex+ port controller? A dry nitrous hit might be just the answer for more power and additional charge cooling!
The Dry Nitrous fueling option was released in ReFlex+ Firmware version 5.2 and later for the ReFlex+ LTx controller. Below we'll outline a couple wiring / control options that you might be interested in if your really pushing the limits.
First of all - why dry nitrous? Well if you have already added supplemental port injection to your LT engine with a ReFlex+ then you most likely have excess fuel capacity in place, so we can just add a hit of nitrous for the excess air. Since the fuel is going to be added directly into the intake port there is a lower chance of distribution problems and the nitrous can simply be added at the throttle body.
Basic Dry Nitrous Wiring / Setup
Below is a basic wiring schematic for controlling the NOS solenoid and having triggering the ReFlex+ for additional fueling.
In this scenario the nitrous is triggered traditionally using a pedal mounted microswitch (or button as desired) which turns on the NOS solenoid and triggers ReFlex+ INPUT 1 for additional fuel through the port system.

AUX1 IN is the light green wire in the 3 pin Deutsch DTM connector as shown below.

Once the wiring is completed as shown above the following changes need to be made to the ReFlex+ using Tuner Pro software.
First we need to setup the Input 1 based off the type of trigger we are using. You will find this setting in "Scalars" listed as "Input Port 1 Config". Hovering mouse pointer over the text will give you a popup listing the options availible.

Since we have the input wired to the 12 volt supply to the NOS solenoid we want to set the Input configuration to 5 = “switch on high”. (if your trigger wire pulled to ground you'd set this value to 6 to activate the enrichment table)

Set the input config to 5 then push save.
Next we need put some values in the Dry Nitrous table to control the amount of fuel added. This is located in the TABLES section of Tuner Pro and is called "Dry Nitrous Adder".

Open the "Dry Nitrous Adder" table.

This table is an added and its values are in milliseconds (ms) of PulseWidth (PW) vs Engine RPM. Since this table an adder, it will add the amount of PW to the injector any time the input 1 is triggered and the engine is running.
So you're next question will be how much PW do I need to add, we'll have to look at your injector size, type of fuel, and desired nitrous power to get a starting point. This equation will give you a starting point.

BSFC - Brake Specific Fuel Consumption for fuel (use 0.65 for gas, 0.85 for E85)
# CYL - number of cylinders in the engine
INJ SIZE - Port injector size you are using in lb/hr.

So using the conditions set above, the equation estimates that we will need a 2.7ms adder for our 100 HP dry nitrous, we want to start on the conservative side so I normally add an extra millisecond of PW so our initial test will be on the rich side and we can tune from there. Let's enter 3.7 ms into our adder table, save your bin, upload into the Reflex+ and you're now ready to start tuning.

NOTE: the state of the port system based off the mass airflow does not matter in reference to the nitrous. For example, if you trigger the nitrous at 2000 RPM and your port system (based off mass flow) is not in operation until 3000 RPM. The Reflex+ will fire the port injectors at the PW listed in the nitrous table so that you have adequate fueling for the nitrous, then when MAF commands port fueling based off airflow the nitrous - the PW will be added to this MAF required PW.
Finally WOT Closed Loop Lambda will help you to maintain that perfect A/F ratio when nitrous is being used through the Dry Nitrous feature you'll be able to adjust the fueling added for nitrous based off RPM.
Advanced Dry Nitrous Options
While the basic operation is all that's necessary for a operating nitrous system the diagram below adds an additional level of control for the system by utilizing an AUX table for controlling when to activate the Nitrous. This is accomplished by connecting the ground side of the relay coil to the ReFlex+ AUX output for activation.

Wire the ground side of the relay (black wire) as shown above. Next we'll need to set the AUX (2 or 3) output to achieve the desired control. In the examples below we'll use AUX 2 table to allow the nitrous to activate only when RPM is above 4000 and MAP (manifold absolute pressure) is above 18psia (~3 psi boost).
First we'll set the output frequency to 20 Hz for a mechanical relay, open the scaler "Aux3 Output Frequency" and set to 0 for 20 Hz as shown below.

Next we'll just need to populate the AUX 3 table to activate the Nitrous where desired as shown below. Since we are using a mechanical relay, we only want to command an OFF (0) or ON (100) in the table.

2 comments
Greg, yes that would be useful information, please see update above in BLOG noting AUX 1 input location.
Which wire is input 1on the reflex?